Guide to setting up Payconiq GO
Welcome to Payconiq!
This page will guide you through the setup of Payconiq GO after activation.
You can get started as soon as you receive an email titled “Your Payconiq GO details”.
Haven’t requested Payconiq GO yet? You can do it directly via our Payconiq GO page.
Getting started
Open the email titled "Your Payconiq GO details"
This email contains your GO activation key, which, for security reasons, can only be accessed a limited number of times. Make sure you save these details securely for future reference!
Set up a Payconiq GO profile
You can do this via the Payconiq GO app for merchants or online at go.payconiq.be.
Choose a Payconiq GO username for this profile and complete the fields.
You can choose any name. A person, a location—it's up to you!
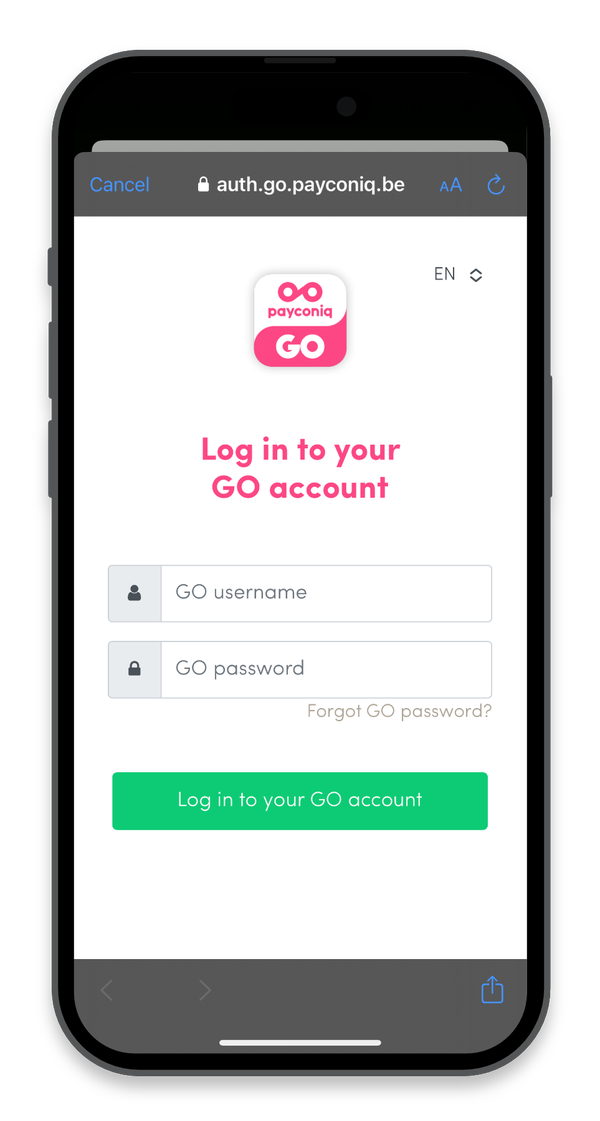
Set a password for your GO username.
You will immediately receive an email with instructions on how to set up your password.

Log in
Once logged in, print the QR code for this username and carry out a test payment.

You can set up multiple Payconiq GO usernames if you wish and will receive a separate QR code sticker for each username.
Carry out a test payment
Open the Payconiq GO app for merchants or head to go.payconiq.be.
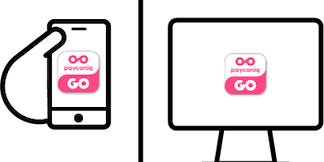
Enter the amount and confirm

Have the QR code scanned
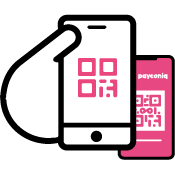
The person who pays you confirms the payment

Your screen will instantly display the payment confirmation

Useful tips
View the Payconiq GO transaction summary
In the Payconiq GO app for merchants, users can view and export payment summaries. You can also automate this process via the Payconiq GO menu.
As the Payconiq account administrator, you can log in to the merchant portal to download a detailed overview of all Payconiq GO user payments in Excel or PDF format. Please note that the login credentials for the merchant portal are different from those for Payconiq GO.
Download the Payconiq GO app for merchants
You can download the Payconiq GO app for merchants from your preferred app store. If you're not familiar with apps or if you prefer to use Payconiq GO on a tablet or cash register screen, simply access it via go.payconiq.be. This will give you access to the same features as the app.
Setting up additional Payconiq GO users
Create additional users with your Payconiq GO details by following the steps above. Each user will receive a unique username and QR code. If you'd like your employees to accept Payconiq payments via Payconiq GO without sharing login details, simply add their device under 'linked devices'.
Would you prefer customers to scan the QR code on a tablet or display?
You can choose to display your QR code on a tablet or display. This is ideal for accepting payments when you're not at the till—such as in a busy bar, out on the terrace, or on the go. This option can be selected in settings. However, please note that while the "Display QR on screen" option is active, customers won’t be able to scan your GO sticker.
Need a payment summary as a Payconiq GO user?
In the Payconiq GO app, users who are logged in can download payment summaries. You can also set up automatic daily summaries to be sent via email.
View all user transactions in the merchant portal
Managing multiple GO users? In the GO platform, it's not possible to generate a summary for all of the GO users linked to your Payconiq account. However, you can find this via the Payconiq merchant portal, where transactions are visible by user under "All transactions".
Please note that the login details for the merchant portal are different from those for Payconiq GO.
If you manage your company’s Payconiq account, you’ll have access to the merchant portal. From there, you can download a complete summary of all incoming Payconiq payments as an Excel or PDF file when you click "All transactions."
Got any questions about the Payconiq GO app for merchants?
How does Payconiq GO user and device management work?
- How can I allow my employees to accept Payconiq payments without sharing my login credentials?
Open the "Linked devices" menu in Payconiq GO and define which permissions you want to grant to the employee’s device. Share the link or let them scan the QR code to link the device. This can be done with or without the Payconiq GO app.
Once the device is successfully connected, a confirmation message will appear, and it will be ready to accept payments. You can manage access via the "Linked devices" menu.
- What access does my employee have via the linked device?
You can configure this yourself in the "Linked devices" menu.
- Can I revoke an employee’s device access?
Yes, both you and the employee can revoke or disconnect access at any time.
- How long will my employee remain logged in?
The employee's device will automatically be logged out after 30 days of inactivity.
Why does Payconiq require an additional email address to set up a GO user?
The email address associated with a GO user is only used for password creation and recovery.
Where can I find an overview of my GO transactions?
All transactions of the day can be found on go.payconiq.be or in the Payconiq GO app (App Store, Play Store) under "Today's GO transactions". Here, you can also see payments that were not successful.
Click 'Download GO transactions' to request an overview for a specific period. The statement will be sent in the desired format to the linked e-mail address.
You can also automate this process. You will then receive an overview at a set time every day.
Will I receive a sticker with my GO QR code?
If you choose the GO sticker solution, you can immediately download the QR code linked to your GO profile via go.payconiq.be or via the menu in the Payconiq GO app and print it yourself.
You will receive the sticker version of this code by post at the address you provided when creating your GO profile account. Please check that the address you have provided is correct/complete and that it is an address where you can receive post (e.g. is there a letterbox?). Would you like to change this address? Let us know at go.payconiq.be/help.
Haven't received your sticker or want to order a new one? Contact us at go.payconiq.be/help.
Can't find your sticker via the menu in go.payconiq.be or via the Payconiq GO app? Then first check whether the "Use QR code on sticker" option is activated in your settings. If this is not the case, you must first activate it (don't forget to save the changes!), after which the download button will appear in the menu.
What is the API key and PPID (Product ID) and where can I find them?
You need an API key and a Product ID (PPID) to set up GO users. You will receive this information via email once your Payconiq merchant account is activated.
Already a Payconiq customer? Request the GO information needed to set up a GO ID.
Don’t have a Payconiq Merchant account yet ? Create one.
Where can I download my Payconiq GO sticker?
You can download your Payconiq GO sticker in the Payconiq GO app or via go.payconiq.be.
First, check if the "Use QR code on sticker" option is activated in your settings. If not, activate it first (don't forget to save the changes). Then, the download button will appear in the menu.
Everyone can pay mobile with Payconiq via these apps

Meal vouchers
How do you let your customers know that you accept Payconiq? Read our helpful tips and download promotional materials to boost mobile payments.

Promotional material
Show customers you accept payments through Payconiq.

Merchant portal
Payconiq provides a range of options. Discover how you can easily track incoming payments, download transaction lists, and much more.


